

ここでは、gccコンパイラをインストールする方法を説明します。
まず、https://sourceforge.net/projects/mingw/files/MinGW/にアクセスします。
筆者の場合、ダウンロードしたファイル名はmingw-get-setup.exeでした。
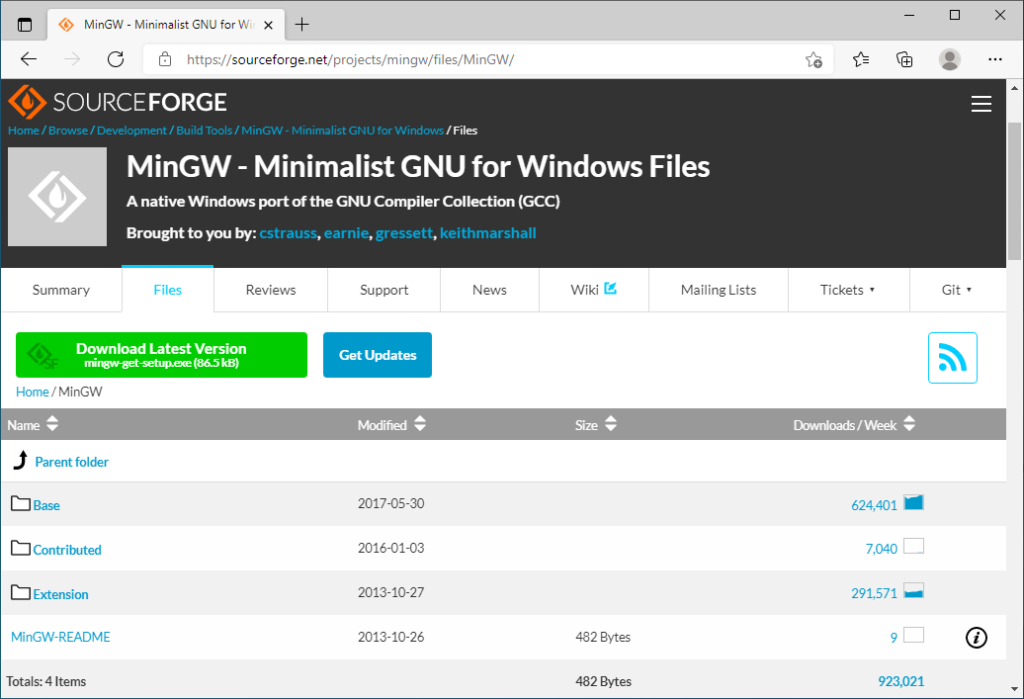
緑色のDownload Latest Versionをクリックします。
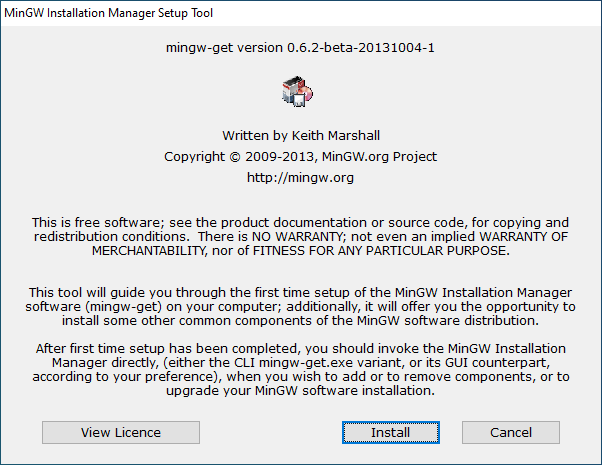
右下のInstallを押します。
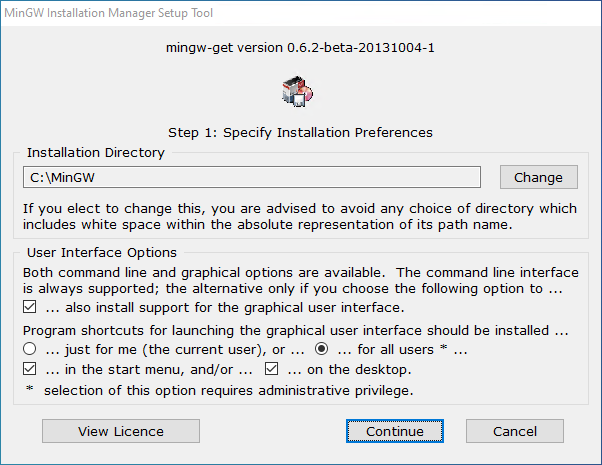
次の画面ではそのままContinueをクリックします。それ以外の設定は何も変更しないでください。
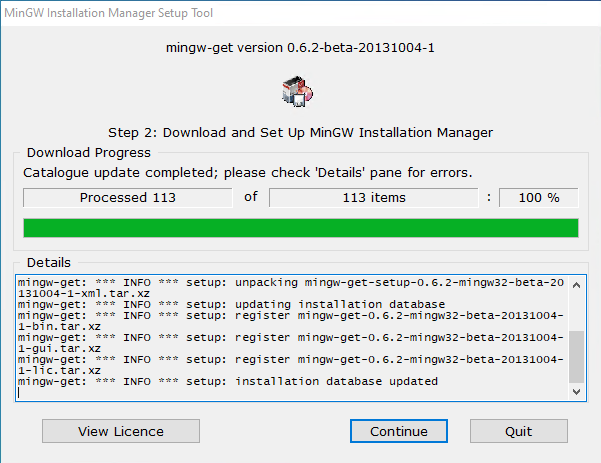
インストールが終わったら、右下のContinueをクリックします。
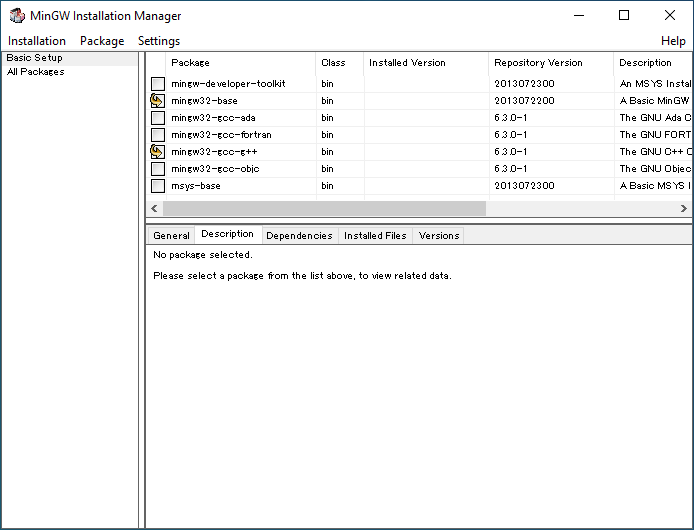
このような画面になるので、mingw32-baseとmingwa32-gcc-g++をクリックします(Mark for Installationをクリックします)。
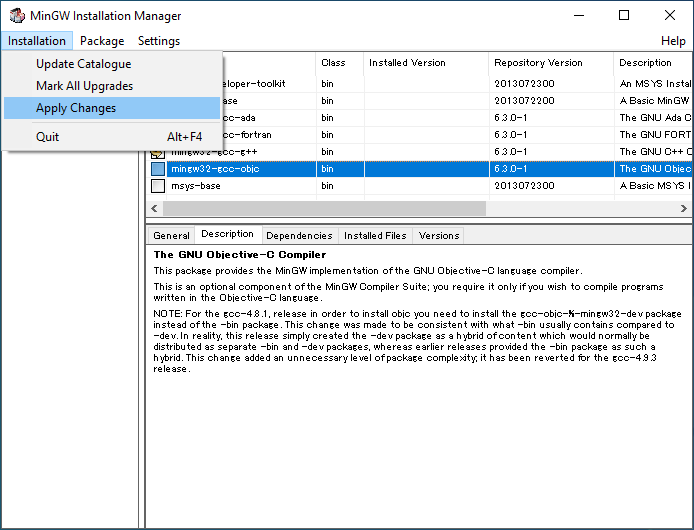
そのあと、InstallationメニューのApply Changesをクリックします。
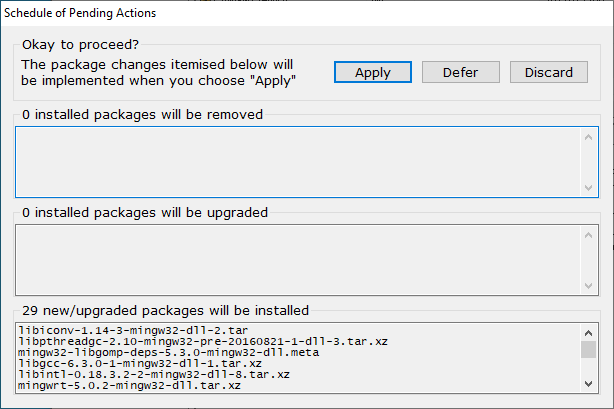
確認画面が表示されるので、Applyをクリックします。
インストールが完了したら、closeをクリックします。
次に、環境変数を登録します。
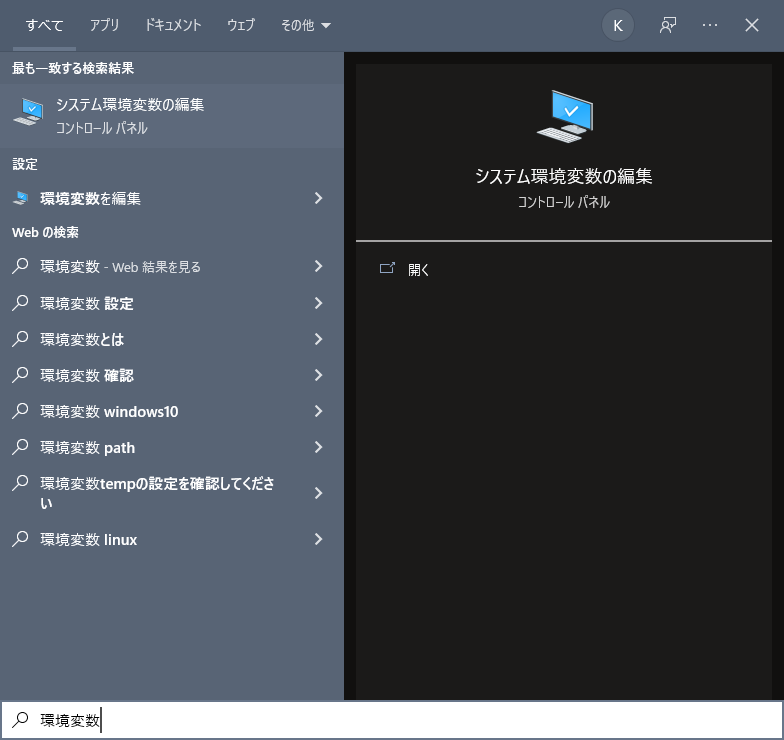
スタートメニューから「環境変数」と検索します。「システム環境変数の編集」をクリックします。
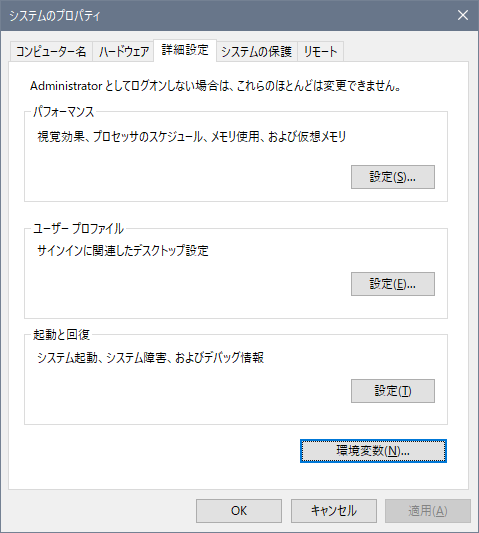
このウィンドウが表示されるので、環境変数(N)をクリックします。
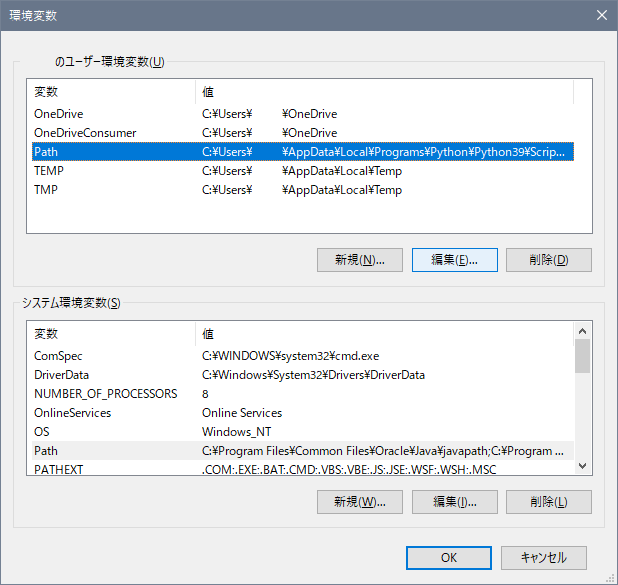
ユーザー環境変数の、Pathを選択し、編集をクリックします。
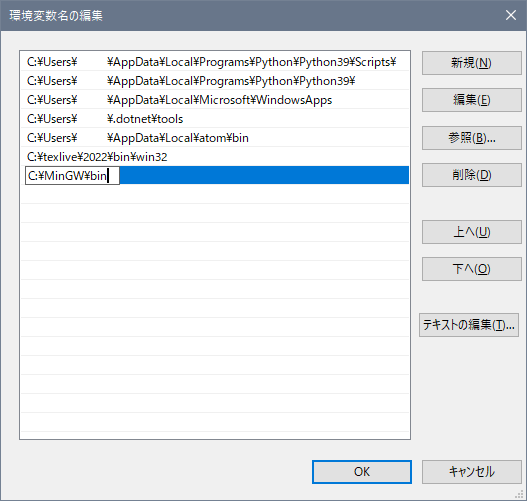
新規をクリックし、C:\MinGW\binを入力します。
そのあと、OKを数回クリックし、ウィンドウをすべて閉じます。

コメント